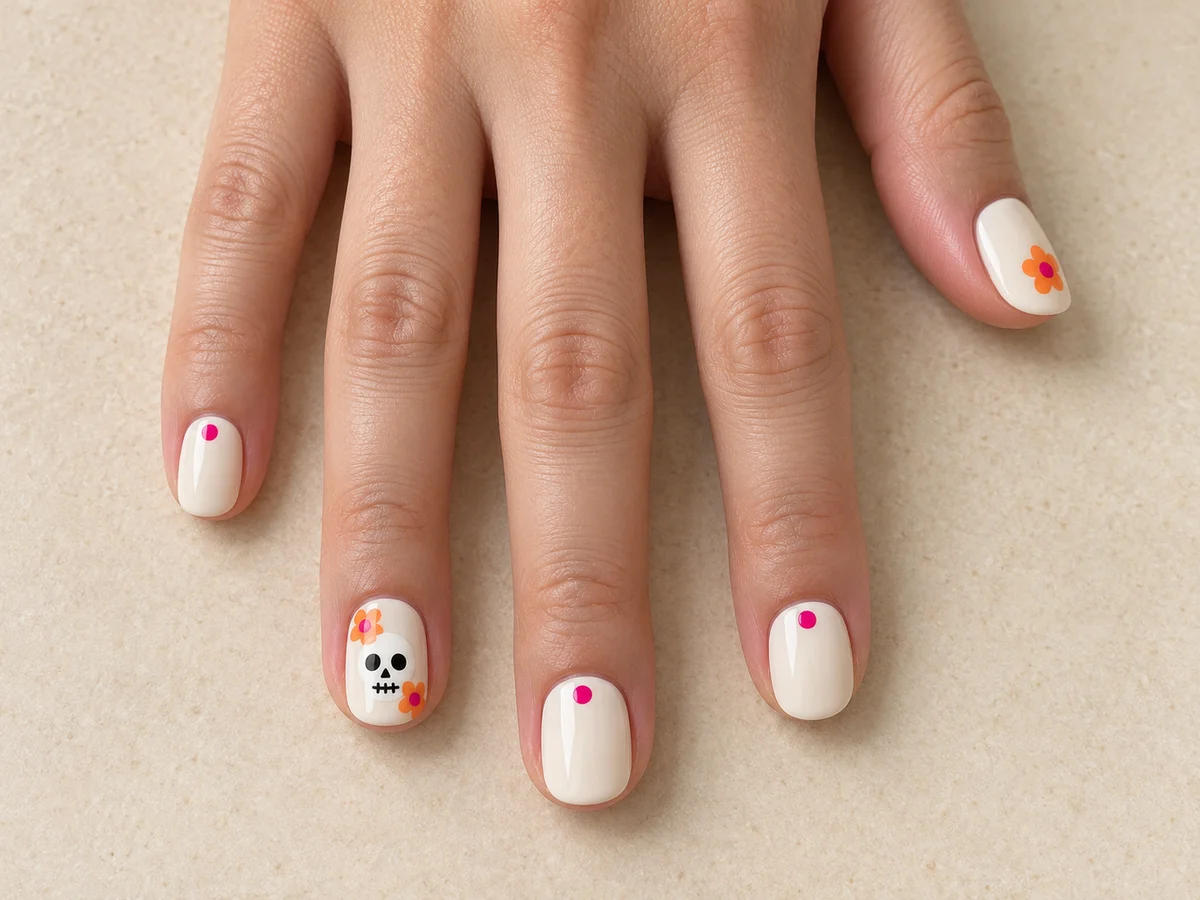
Create an ivory Día de los Muertos manicure with a small white skull on the ring finger, orange marigold-inspired flowers, and fuchsia dots. This is a design guide using regular air-dry nail polish, not a report of a manicure we tested. The skull needs a steady hand, so practice on paper or a nail tip first.
- Difficulty
- Intermediate
- Estimated time
- 75 min
- Finish
- Glossy
- Nail length
- Short to medium, with a rounded edge
- Technique
- Regular air-dry nail polish
Set aside roughly 60–90 minutes to prep and decorate both hands, plus the full drying time specified by your products. The 75-minute estimate is a planning guide, not a wear test or a drying guarantee.
Quick overview
- Build a small skull from simple shapes and flowers from clusters of dots without crowding the nail.
- Use five colors: ivory, opaque white, black, orange, and fuchsia, plus a clear base coat and top coat.
- The essentials are compatible regular polishes, a dotting tool, a detail brush, and remover suitable for those polishes.
- Merged dots and black details that smear under top coat can mean too much polish or layers that are still wet. Use a light load and follow label drying guidance.
Beginner option: Place a five-dot orange flower on each ring finger and leave the other nails ivory with one fuchsia dot. Skip the skull entirely to keep the palette while reducing precision work.
Materials
Regular-polish base coat
Required. Provides a base for color according to its label.
Five regular polishes: ivory, white, black, orange, and fuchsia
Required. Ivory for the background, white for the skull, black for the face, and two accent colors.
Budget alternative: Use similar shades you already own; using white as the background too brings the palette down to four colors.
Regular-polish glossy top coat
Required. Seals the design without a lamp.
Small dotting tool
Required. Forms eyes, petals, and accent dots.
Budget alternative: A clean bobby pin with a smooth rounded end can make larger petals. Keep sharp points away from skin and nails.
Fine nail-art detail brush
Required. Draws the jaw, nose, and short mouth lines.
Polish remover, cotton pads, and a washable work surface
Required. For cleaning tools and removing regular polish; follow the label precautions.
Gentle nail file
Required. Smooths the free edge without aggressive surface buffing.
Practice nail tip or paper
Optional. Helps check the size of the motifs before painting.
Step-by-step instructions
Step 1
Prep the nails and apply base coat
Start with clean, dry, polish-free nails. Smooth the free edge with a gentle file; do not cut cuticles or aggressively buff the surface. Apply a thin regular-polish base coat and let it dry as directed.
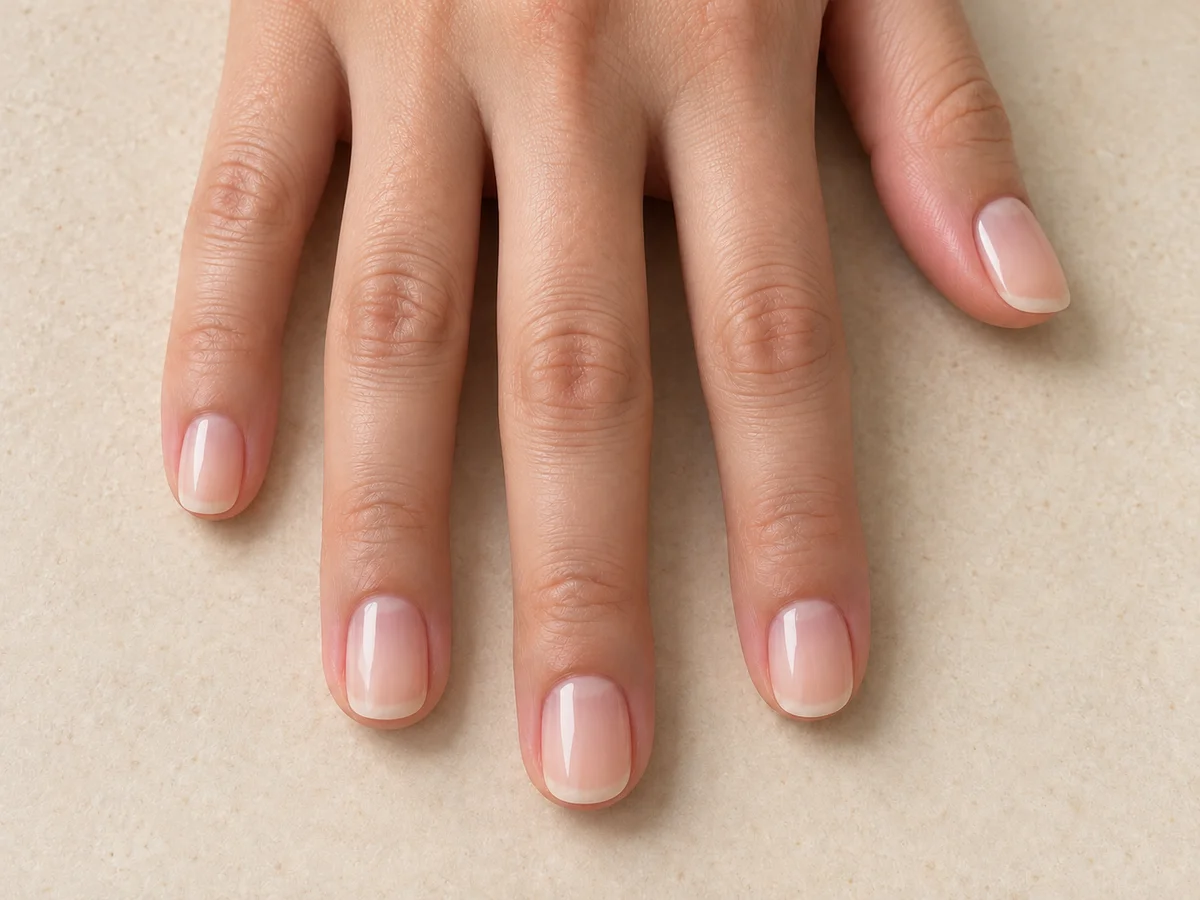
Clean rounded nails with clear base coat, before any color or artwork. Tip: Rest your forearms on the table and lay out only the tools you need.
Step 2
Build an even ivory base
Apply a thin ivory coat, keeping it off skin and cuticles. Wait as directed; add a second thin coat only if coverage needs it. Let the background dry according to the polish instructions before decorating.
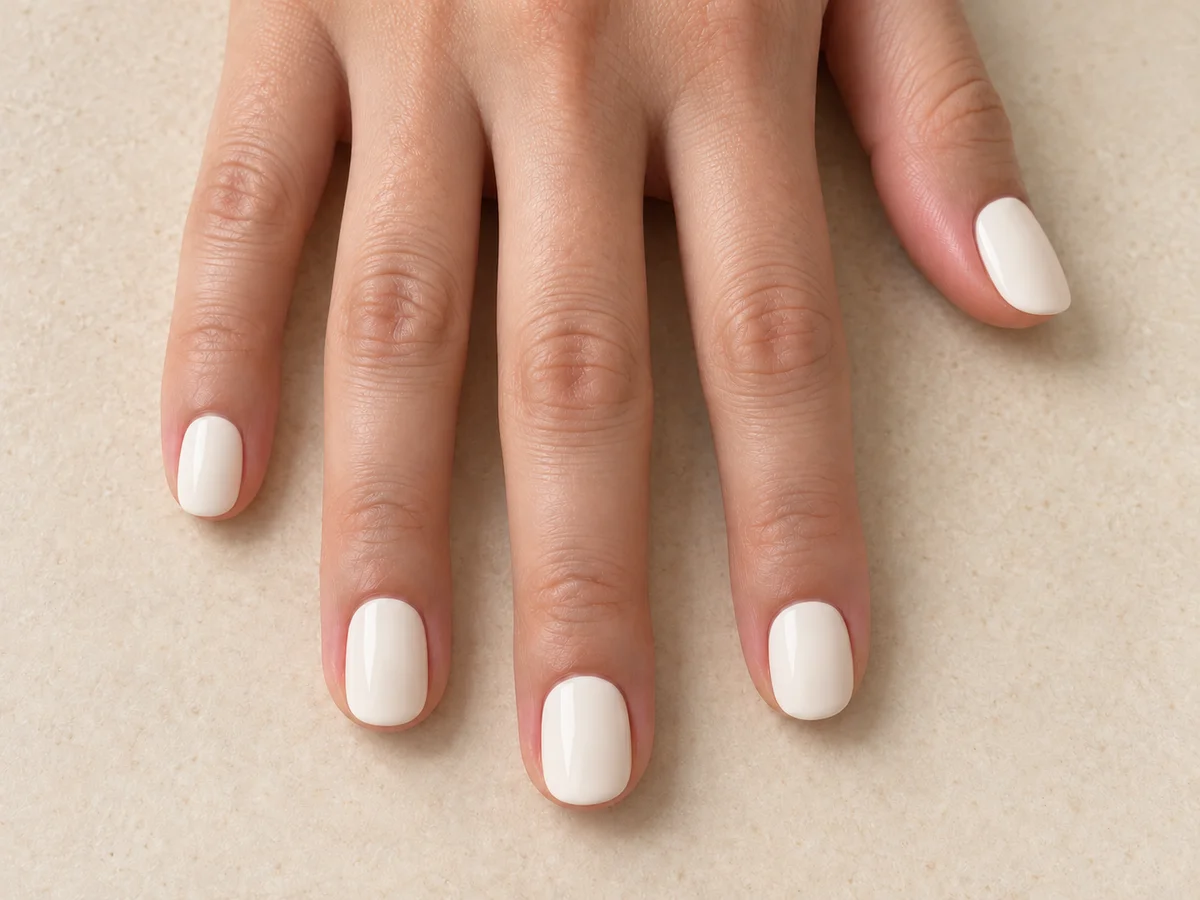
All nails with an even ivory base and no decorative motifs. Fix: Do not cover streaks with a thick layer. Wait, then add a second thin coat.
Step 3
Paint the skull silhouette
Paint a small white oval in the center of the ring finger, then add a narrower soft-cornered rectangle below it for the jaw. Leave room around it for two flowers. Do not add facial features yet; let the white dry.
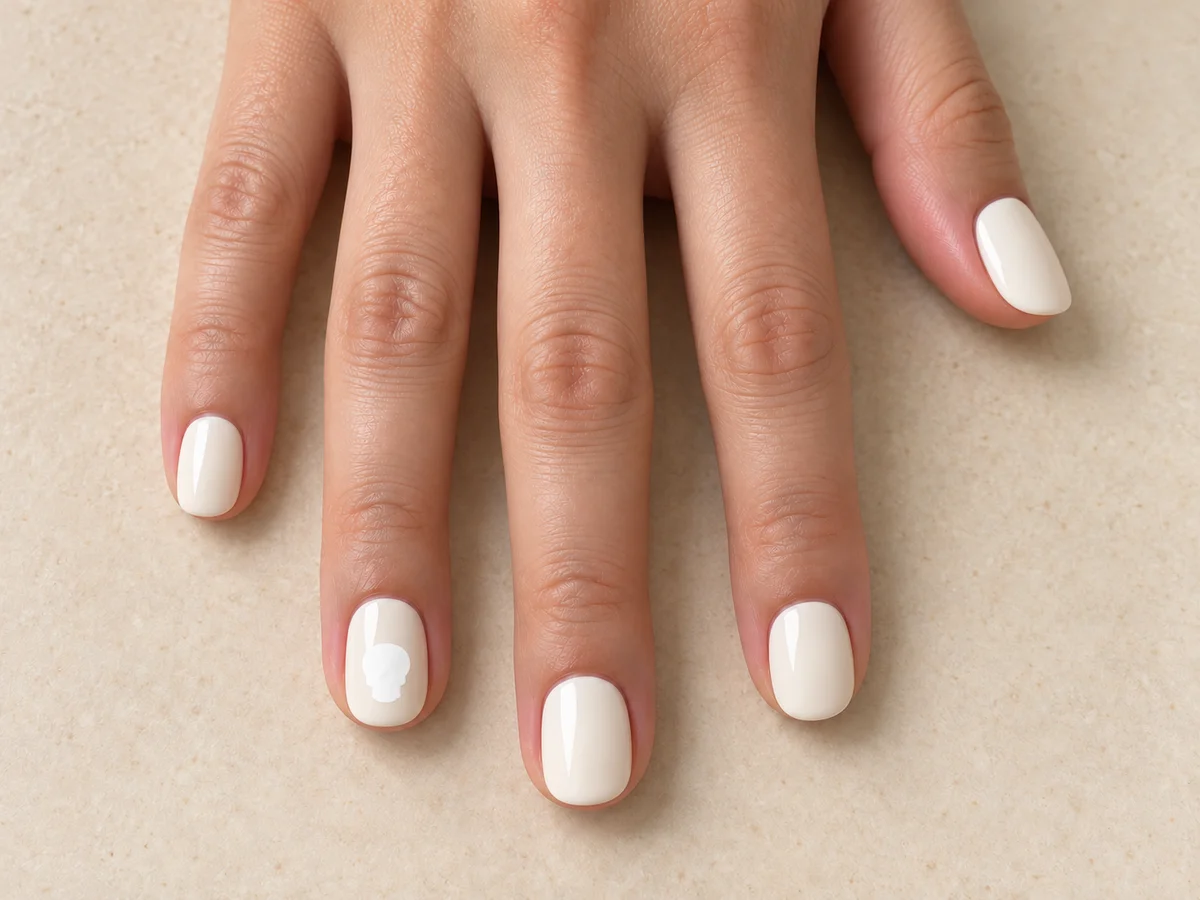
White skull silhouette on the ivory ring fingernail, without facial details. Tip: Practice the size first. On short nails, prioritize a simple silhouette without surrounding accents.
Step 4
Add eyes, nose, and mouth
Use a small dotting tool lightly loaded with black to place two eyes on the dry white shape. With the detail brush, add a tiny triangular nose mark and a short mouth line; cross it with two tiny strokes if space allows.
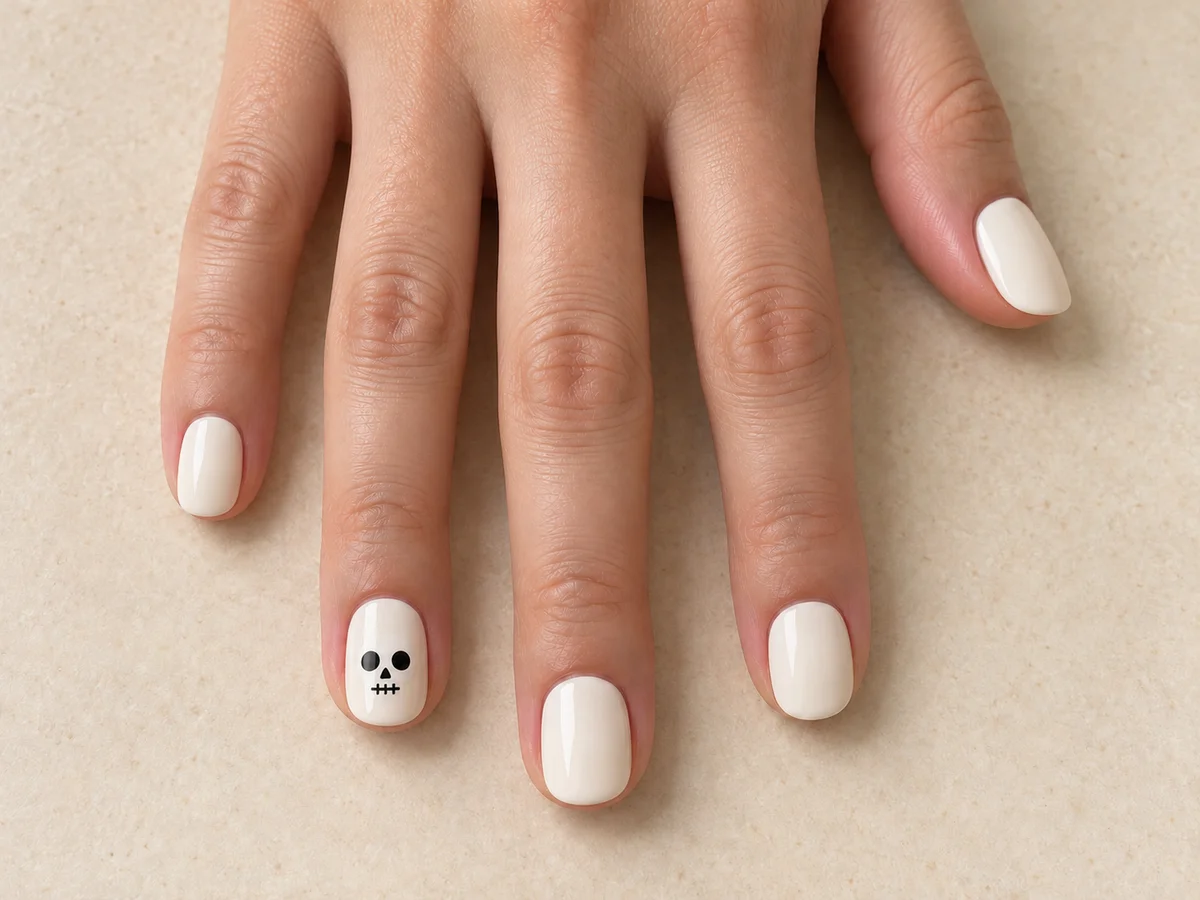
Ring-finger skull with two black eyes, a tiny nose, and a short mouth; no flowers yet. Tip: For your other hand, rotate the finger and keep the brush hand supported. A single mouth line is enough.
Fix: If the eyes merge, let them dry and separate with a tiny white touch-up; redo the nail if the layers become too thick.
Step 5
Paint flowers and fuchsia accents
On the ring finger, add two small flowers outside the skull, one near an upper corner and one near the opposite lower corner. Form each with five close but separate orange dots. Add a fuchsia center after the orange dries; leave a gap between flower and face.
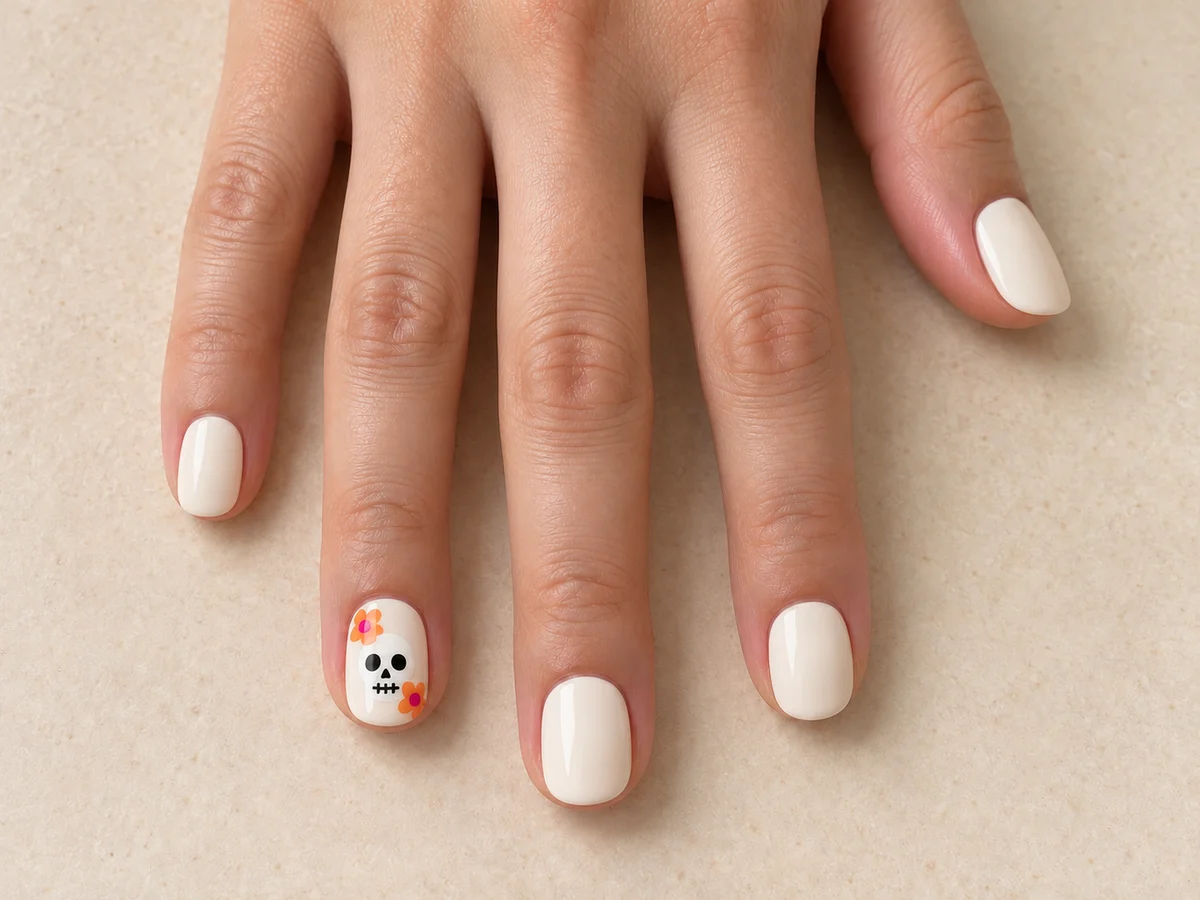
Ring fingernail with skull and two orange flowers with fuchsia centers; other nails remain plain. Tip: These are simplified marigold-inspired flowers, not a botanical rendering. Paint just one if space is tight.
Step 6
Decorate the remaining nails
Paint one orange flower with a fuchsia center near each thumbnail tip. On the index, middle, and pinky nails, place one fuchsia dot near the base without touching the cuticle. Repeat on the other hand, or use dots only if that is easier.
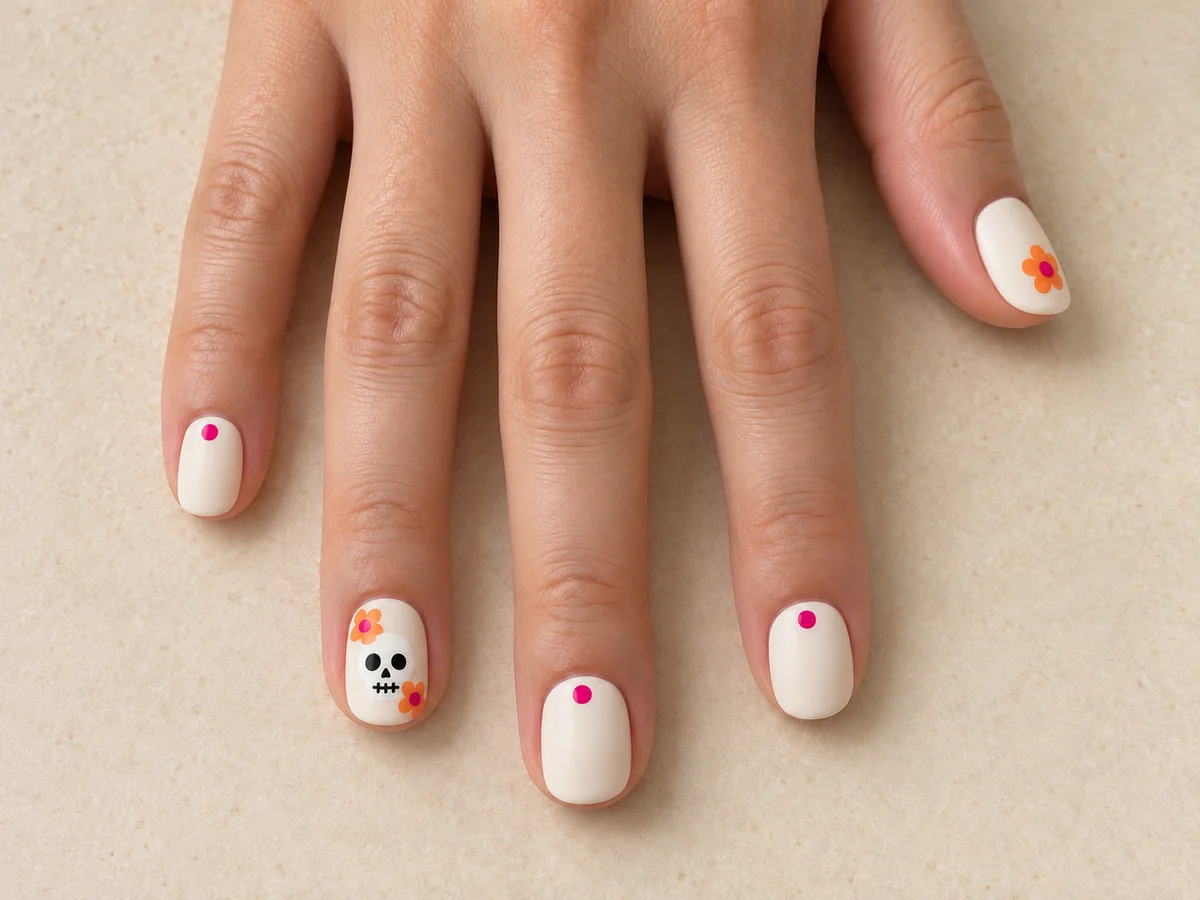
Flowers on ring finger and thumb, with a fuchsia dot on index, middle, and pinky. Tip: Keep the remaining nails simple so the ring finger stays the accent nail.
Step 7
Seal with glossy top coat
Check the drying guidance for every color used. Once the details are dry as directed, apply regular-polish top coat with light strokes and minimal reworking. Allow it to dry fully according to the manufacturer; do not use a UV lamp.
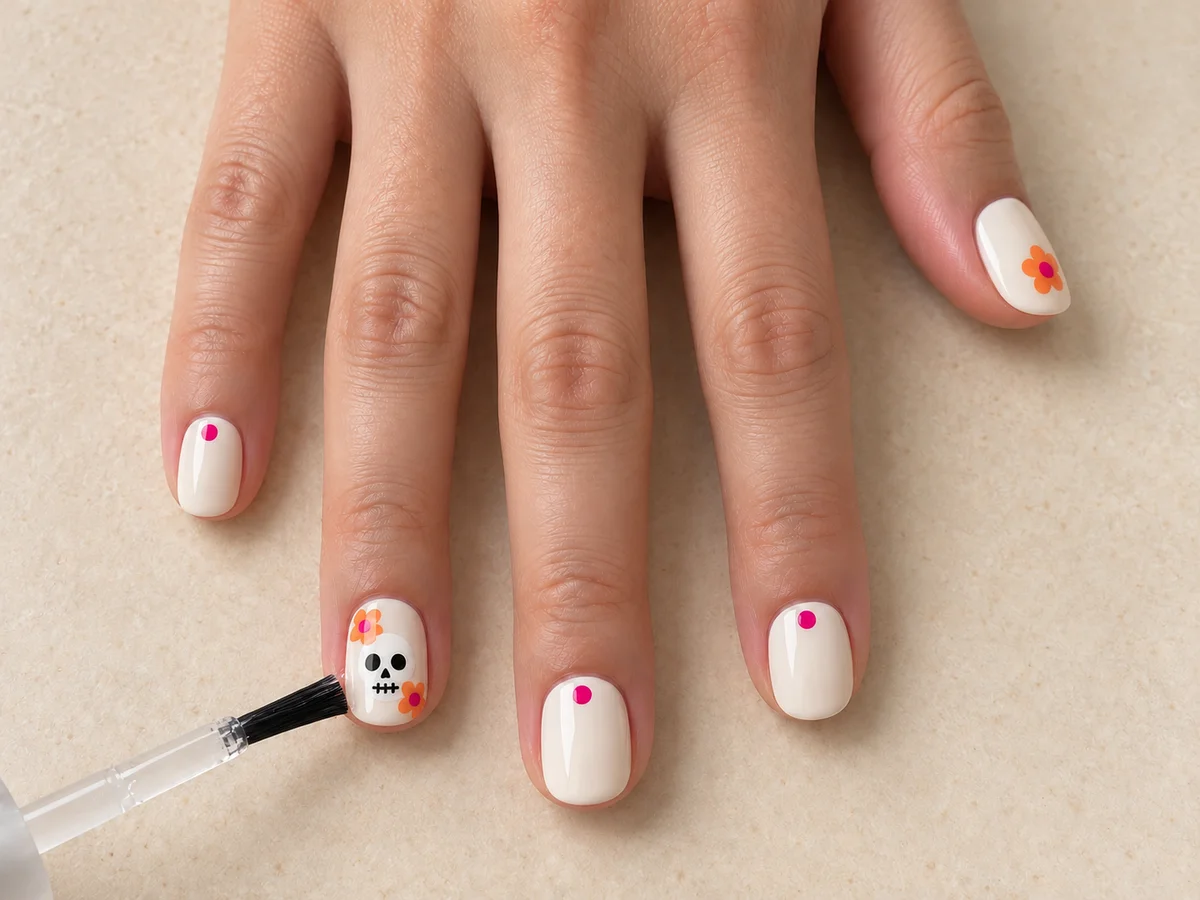
Clear glossy top coat being applied to the dry completed design. Fix: If the brush drags black pigment, stop and allow more drying time before correcting. Reworking it while wet will spread the smear.
The finished design
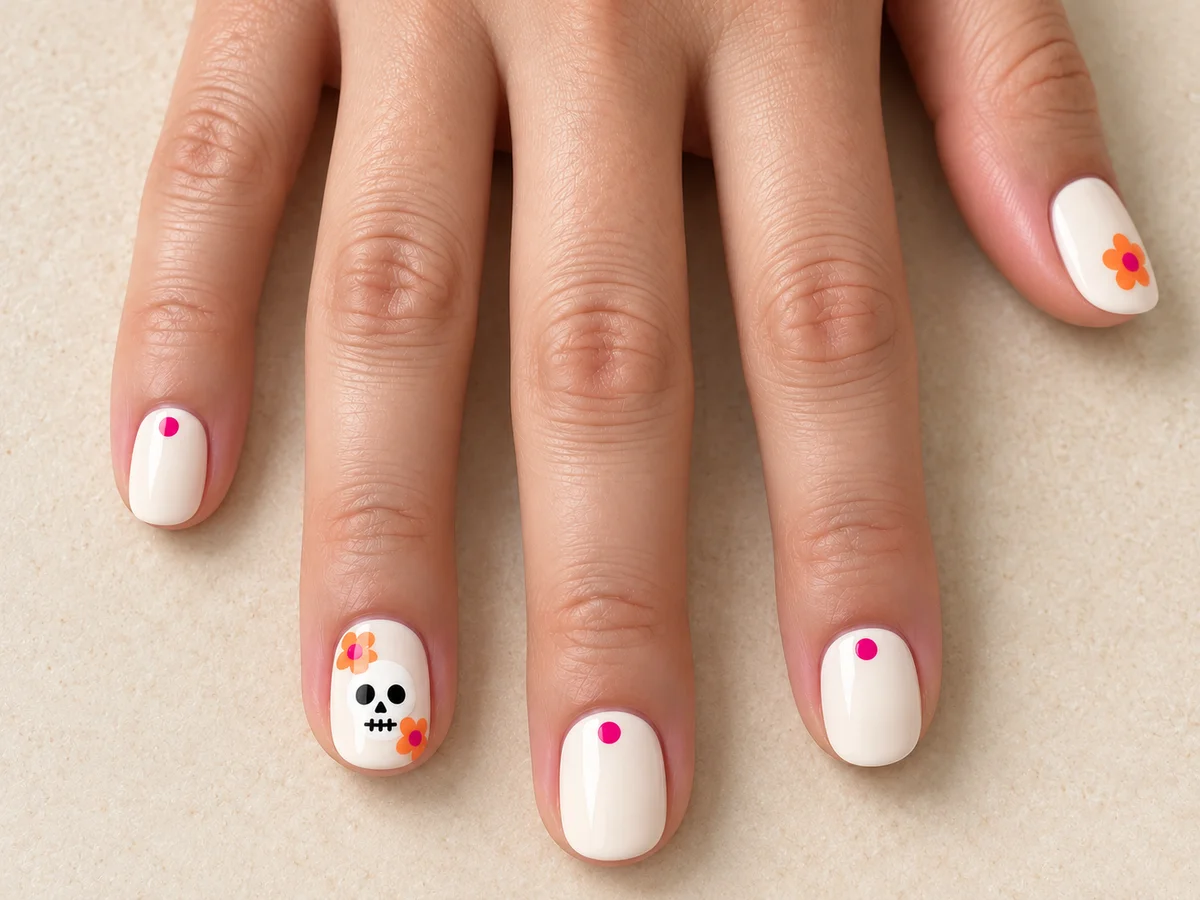
The intended result pairs a recognizable small skull on each ring finger with orange flowers and fuchsia dots over glossy ivory. It uses a dotting tool, detail brush, and five colors. The tiny face makes this an intermediate project; beginners can use the flower-only version.
Place a five-dot orange flower on each ring finger and leave the other nails ivory with one fuchsia dot. Skip the skull entirely to keep the palette while reducing precision work.
Your color palette
Colors
Soft ivory
The background for your design. If you use a light nude, check that the white skull stands out.
Opaque white
For the ring-finger skull. Test the contrast against your background before you start.
Black
For the eyes, nose, and mouth. Keep just a little polish on your brush.
Marigold orange
Five little dots make each flower. Leave room in the center for the pink.
Hot pink
A pop of color in the flower centers and a dot on the nails you keep simple.
These swatches are a color guide, not exact polish shades. Use similar colors you already own.
Common mistakes
The skull fills the nail
Leave a small margin around it. Practice an oval about one-third of the nail width; if there is no room for facial details, simplify the mouth to one stroke.
The petals merge
Use less polish on the tool and space the dots farther apart. If the design stays wet and bulky, remove the polish on that nail and start again from base coat; do not scrape it.
Top coat smears the black
Allow more drying time before sealing and avoid repeated strokes. If smearing has happened, let it dry, then make a small ivory correction or redo the nail if a touch-up would create too many layers.
Wear, care, and removal
Follow the drying times on the labels. A surface that looks dry does not guarantee the underlying layers are ready for pressure or handling objects.
Once the polish is dry, wear gloves for wet cleaning tasks and avoid using nails as tools. There is no promised wear time: polish, application, and daily use all matter.
Work in a ventilated area away from flames and heat. Keep polish off skin and cuticles; stop if irritation develops and follow the manufacturer's warnings.
Removing regular polish
This design uses regular polish, not UV gel. It needs no lamp and should not be cured under UV light.
Using a remover allowed by the polish label, moisten a cotton pad, hold it briefly on the nail, and wipe without scraping. Repeat with clean cotton to avoid spreading black pigment.
Do not peel off layers or file the nail surface to remove the design. Wash your hands as directed by the remover and moisturize the skin. If you have gel or another enhancement underneath, check its removal instructions before applying solvents.
Variations
Without the skull
Use orange flowers and fuchsia dots over ivory. This is the simplest option and avoids drawing facial features.
Pale pink background
Swap ivory for pale pink and keep white, black, and orange. Test the fuchsia contrast on paper first.
Very short nails
Keep only a skull on the ring finger, with no surrounding flowers; put one flower on the thumb. Fewer motifs make each shape easier to recognize.
Tools and product choices
Check your supplies before shopping. A fine brush and small dotting tool cover the precision work; a large kit is unnecessary. Choose base and top coats intended for regular polish.
Questions about this design
How do I paint with my non-dominant hand?
Rest both forearms and rotate the finger being painted instead of making large brush movements. Start with dot flowers and simplify the face if control is difficult.
Do I need five separate colors?
The design uses five. White can serve as both background and skull, though contrast will be lower; skipping the skull leaves just a background shade, orange, and fuchsia, plus base and top coat.
Can I use gel instead of regular polish?
This tutorial is not a gel protocol. Gel products need their own compatibility, application, and curing instructions; do not use these timings for lamp curing.
When can I apply top coat?
After the color and details have dried according to their instructions. There is no universal interval: thick dots take longer than thin lines.
Keep practicing
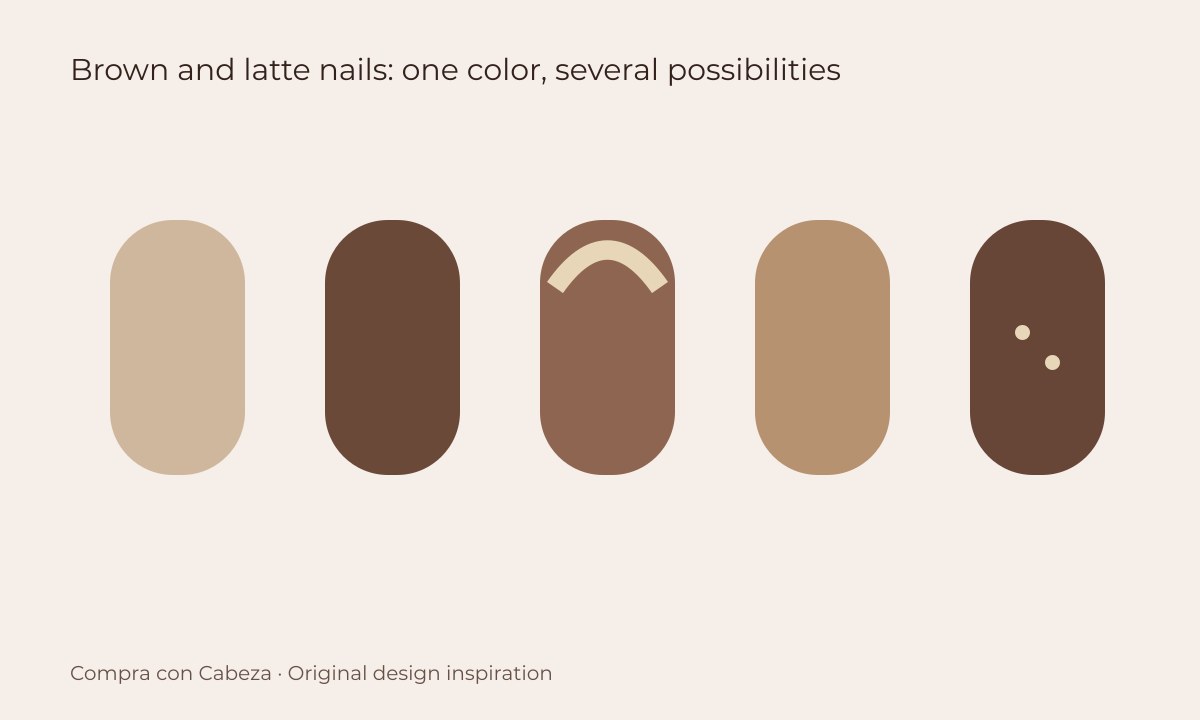
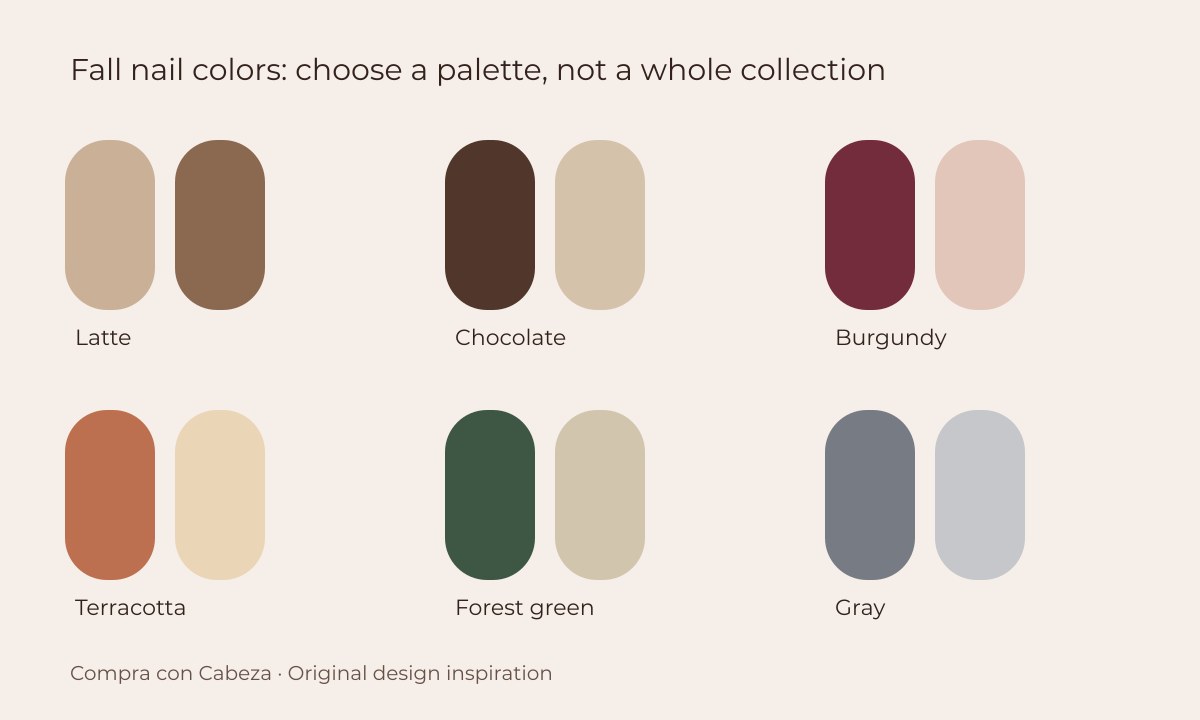
Try the same dotting technique with brown and latte nail designs, or compare palettes in our fall nail color guide. These are design references, not a requirement to buy a particular polish.
Browse more beauty guides in English or try the nail color quiz.